At Solar Voltaics, we understand that making the switch to solar energy is a big decision. Whether you’re motivated by the potential financial savings, the environmental benefits, or a desire to increase the value of your property, we’re here to guide you through the process from start to finish. Here’s a step-by-step look at what you can expect when you choose us for your solar installation.
Step 1: Customer Enquiry
The journey begins with a simple enquiry. Whether you reach out to us by phone, email, or through our website or social media, our friendly and knowledgeable team is ready to answer all your questions. We’ll discuss your energy needs, the potential benefits of solar, and what you can expect from the process. If you’re ready to explore further, we’ll set up a convenient time for a property survey.
Step 2: Property Survey
Our next step is to conduct a survey of your property. One of our expert surveyors will visit your home to assess the roof’s suitability for solar panels, considering factors such as roof orientation, pitch, shading, and structural integrity. This survey is crucial as it ensures that we design a system that maximises energy production and fits seamlessly with your property.
Step 3: Custom Solar System Design
Based on the survey results, our engineers will create a bespoke solar system tailored to your specific needs. We consider your energy consumption, roof space, and budget to design a system that offers the best performance and return on investment. We’ll present you with a detailed proposal, including projected energy savings, system specifications, and a cost breakdown.
Step 4: Placing Your Order & Paying the Deposit
Once you’re satisfied with the design and ready to proceed, you’ll place your order by signing the order form and paying a 20% deposit. This payment secures your spot in our installation schedule and allows us to begin the necessary preparations for your solar project.
Step 5: Grid Connection Permission
Before we can install your solar system, we need to obtain permission from your designated network operator (DNO) to connect your system to the grid. Don’t worry—our team will handle this process on your behalf. We’ll submit all the required paperwork and keep you informed of the progress. This step is essential to ensure that your system complies with all regulations and can safely feed excess energy back into the grid.
Step 6: Scheduling Scaffolding & Installation
Once we have grid connection approval, we’ll work with you to schedule the installation. We’ll arrange for scaffolding to be erected at your property, typically a few days before the actual installation begins. We’ll coordinate the installation dates to minimise disruption and ensure the process goes as smoothly as possible.
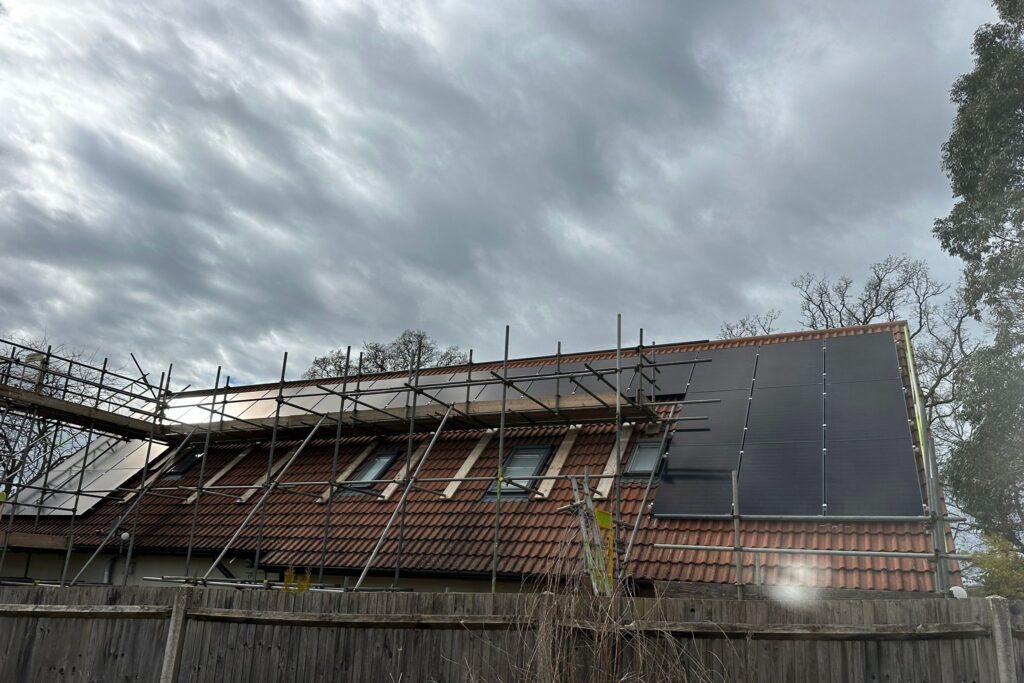
Step 7: Scaffolding Goes Up
Scaffolding is an important part of the installation process, providing our team with safe and easy access to your roof. Our professional scaffolding partners will set it up quickly and securely, allowing us to begin the roof installation without delay.
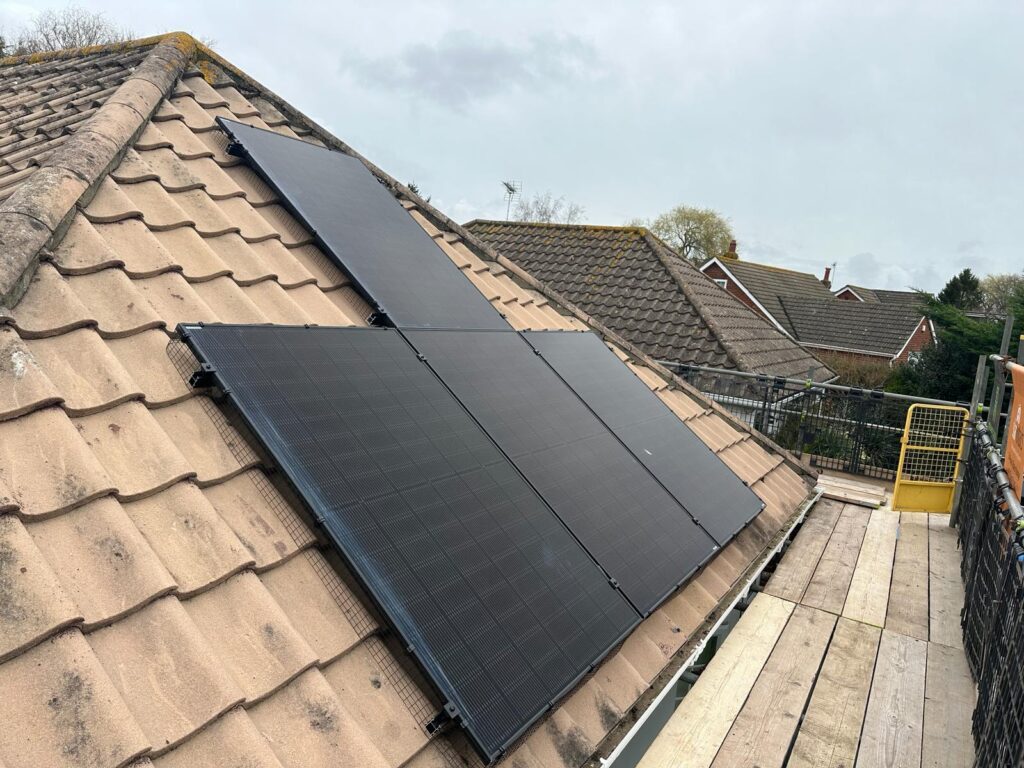
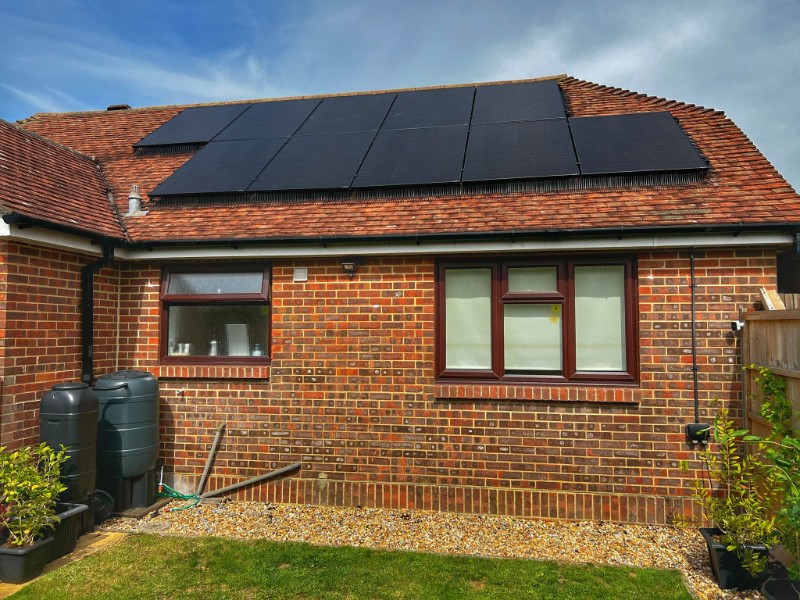
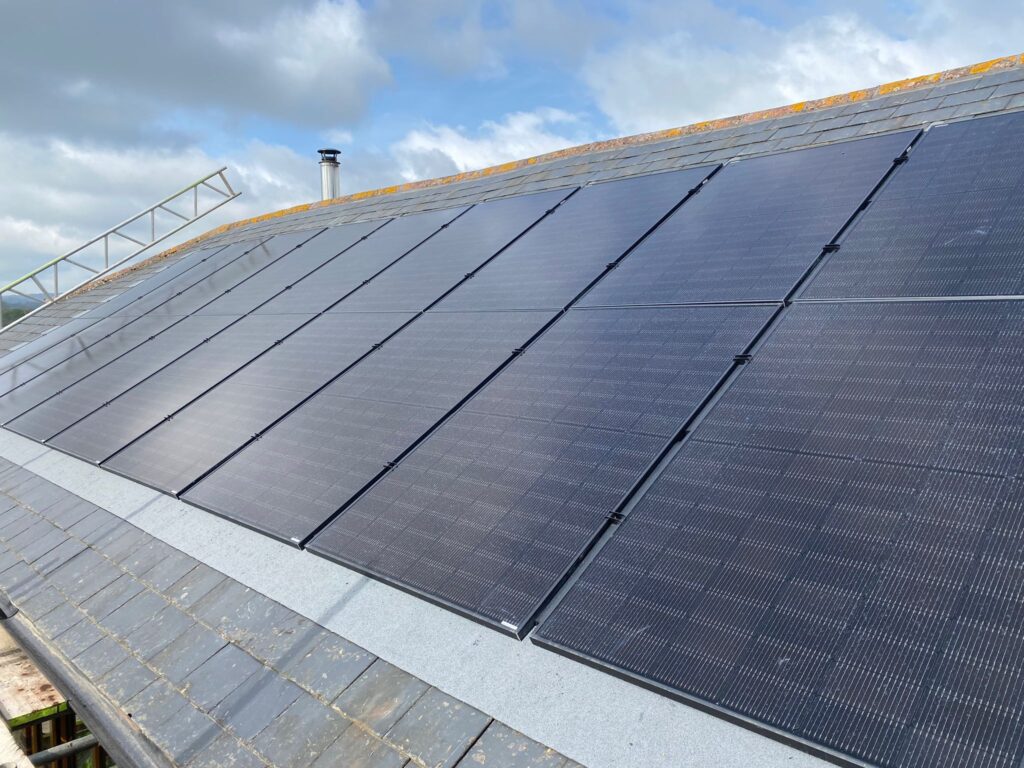
Step 8: Roof Installation
Now, the real transformation begins! Our experienced installation team will mount the solar panels on your roof, ensuring they’re securely fastened and optimally positioned to capture the maximum amount of sunlight. This part of the installation usually takes a day or two, sometimes more, depending on the size and complexity of the system.
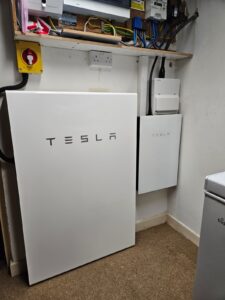
Step 9: Electrical Installation
With the panels in place, our qualified electricians will handle the electrical installation. This involves connecting the solar panels to an inverter, which converts the DC electricity produced by the panels into AC electricity for use in your home. They’ll also connect your system to the grid and install any necessary monitoring equipment so you can track your system’s performance.

Step 10: Final Balance Payment
Once the installation is complete and you’re satisfied with the work, it’s time to settle the final balance. We’ll provide you with an invoice for the remaining 80% of the project cost. After receiving your payment, we’ll move forward with the final steps.
Step 11: Scaffolding Comes Down
After all the work is completed and the system is up and running, the scaffolding will be carefully dismantled and removed from your property. This marks the near end of the installation process, leaving you with a clean and tidy property and, of course, a brand-new solar system!
Step 12: Handover & Certification
Finally, we’ll collate all the test results, documentation, and certifications required for your system. This includes your MCS certificate, which is essential for claiming any solar incentives, as well as detailed instructions on how to monitor and maintain your system. We’ll package all this information into a comprehensive customer handover pack and send it to you, ensuring you have everything you need to enjoy your new solar system to the fullest. By following these steps, we ensure that your transition to solar energy is smooth, efficient, and hassle-free. From your initial enquiry to the final handover, our team is committed to delivering exceptional service and a solar solution that meets your needs. Ready to take the first step? Contact us today, and let’s start your journey towards energy independence!